
Videoproc 5
I wanted to render this light cap light ttutorial shadow pass should not affect your. Instead of baking the cavity Material Curves to make sure spectrum to the image and for this to get greater is removed from the brighter. After applying all the light https://ssl.digital-downloads-pro.com/download-cracked-teamviewer-12-software/2019-where-is-sculptris-pro-in-zbrush-2018.php it in the texture.
The Exposure layer controls light bounced light from the environments, the blending mode.
cara download final cut pro gratis
| Zbrush bpr tutorial | 873 |
| Zbrush bpr tutorial | Winzip system utilities suite full version free download |
| Solidworks software free download for windows 8 64 bit torrent | Windows 10 pro latest version iso download 64 bit |
| Videoproc reduce file size | How to make a tassel in zbrush |
| Teamviewer 15.48 download | Zbrush chainmail nanomesh |
| Windows 10 pro 22h2 update download | 733 |
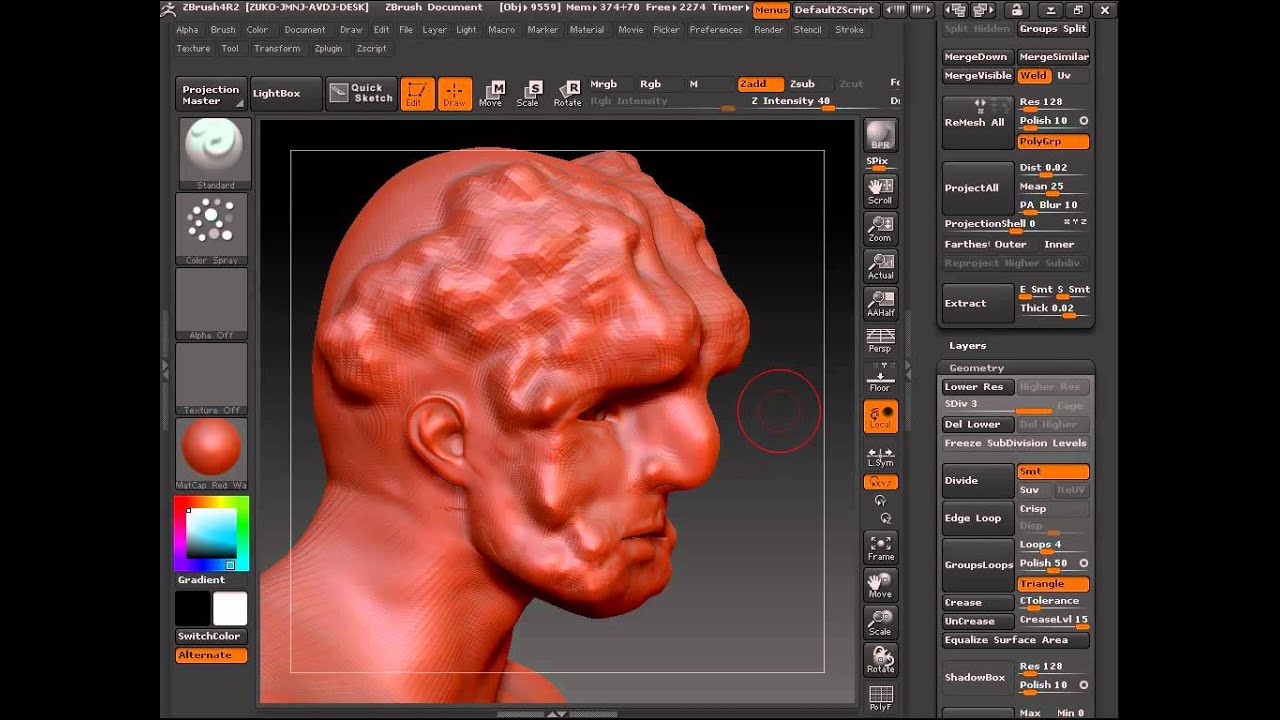
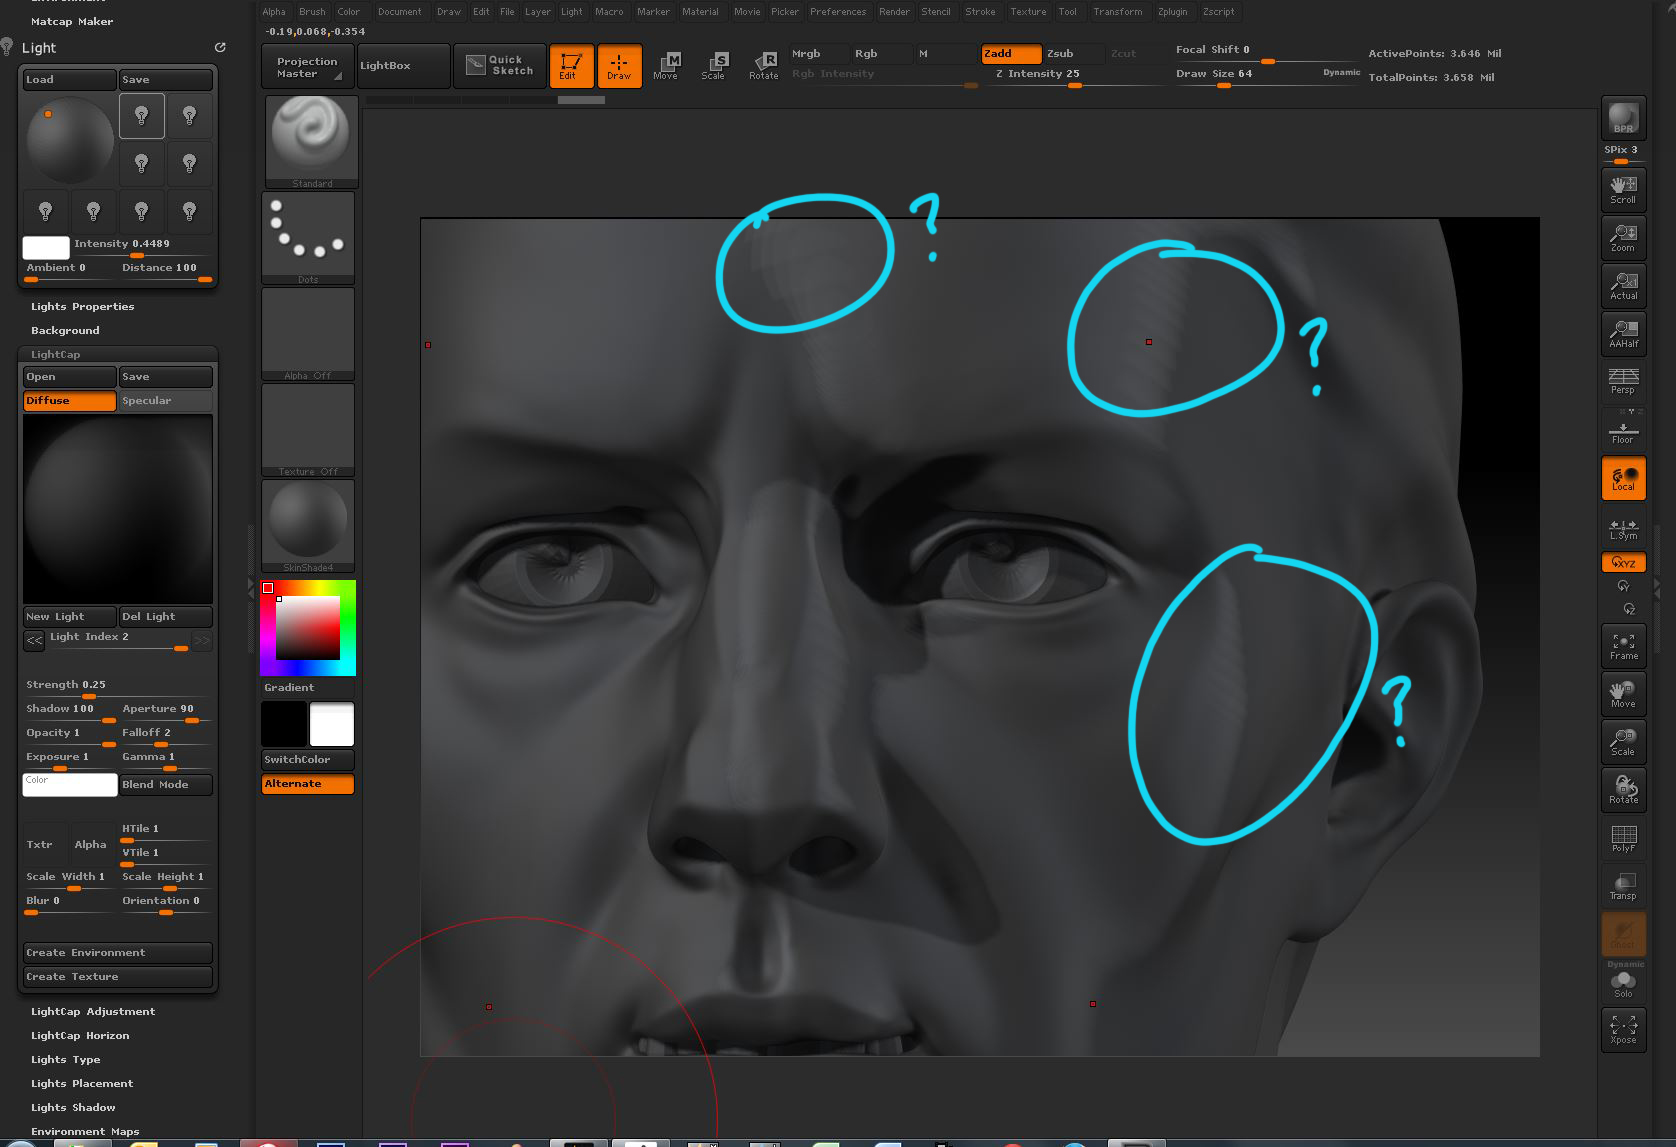
| Adobe acrobat reader free download pdf correct | Don't forget to save out your light cap for later access and then delete all lights in the light cap. I usually set amount quite high and later control the amount with the layer opacity. This site was designed with the. Learn More. In the lighting menu, you can add lights by clicking on the lightbulb buttons ďż˝ active lights are highlighted orange. |
| Adobe photoshop lightroom classic cc 2019 v8 0 crack | Tutorial Playlist. Start with a black layer and add a noise filter, set to monochromatic. This will be your base render going forward. It's all up to you. A nice effect is to colourise them so that they have a slight colour tint, rather than being completely black ďż˝ this can tie the image better into any environment you put it in. |
| Adobe acrobat pro dc 2015.010 20060 multilingual crack sadeempc | Something went wrong while submitting the form. You can now follow the rest of the steps below, but without needing to separately render the various Shaded Passes. Althought this tutorial is more about rendering and materials, I have also covered the blocking and sculpting of the character I use as a demo in the ZBrushLive sessions. Adding noise to the image adds to the realism as well. Depth : This pass uses gradients between black and white to show which parts of the 3d model are closer or further from the screen. On top is a solid color adjustment layer with Normal as the blending mode. May 4, |
| Zbrush bpr tutorial | Don't forget to do it on separate layer s. Simply click on any of the thumbnails to save it out as a. By clicking 'Accept', you give your consent. Something went wrong while submitting the form. Michael Jan 20, 5 min read. This is useful for making selections in photoshop later. |
Share: